
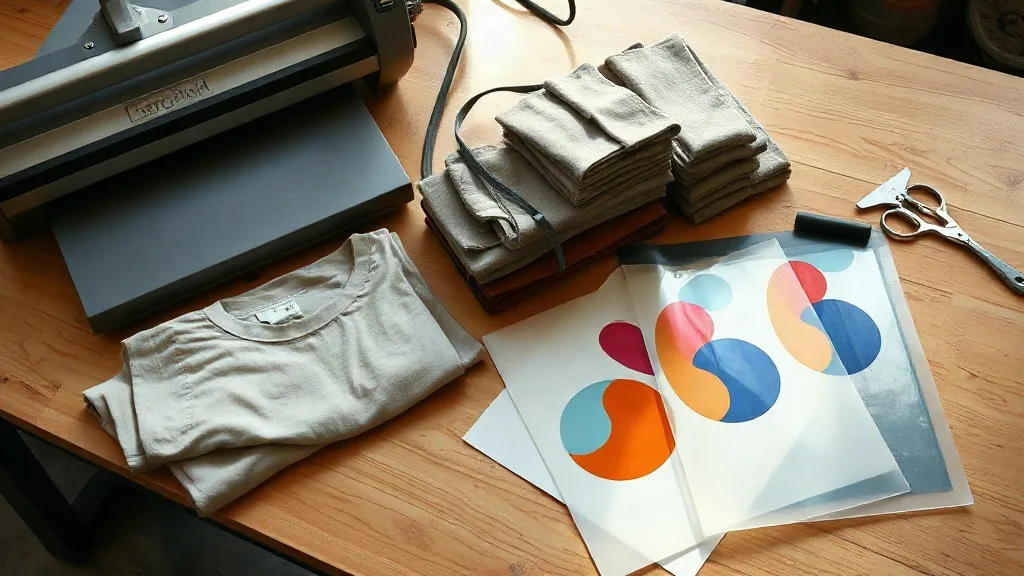
Most DTF troubleshooting conversations start with the printer, the powder, or the film. In practice, a surprising number of failed jobs trace back to the shirt itself. The weave, the dye, the weight, and even how the garment was finished at the factory all change how a transfer bonds, cures, and ages. That is why so many small print shops keep a stack of shaka wear blanks within arm's reach: the fabric behaves predictably, and predictable fabric makes every other variable easier to control.
This guide is written for people who actually pull a heat press handle, not for a catalog page. We will walk through how Shaka Wear blanks perform under DTF transfers, which styles suit which jobs, the press settings worth starting with, and how to plan a DTF Gangsheet Builder layout so you waste less film on every run.
Why the Blank Matters More Than Most Printers Admit
A DTF transfer is a layered system: adhesive powder, ink, and film, all fused into the fabric surface. If the fabric is tightly woven and evenly finished, the adhesive has a consistent surface to grip. If it is loosely knit, heavily siliconed, or coated with a softener that never fully washed out, the same transfer can peel at the corners after a handful of laundry cycles.
Shaka Wear sits in a useful middle ground. The line leans toward mid-to-heavyweight cotton and cotton-blend basics, which means the surface is dense enough to hold a transfer without the print sinking into the weave. Heavier fabric also handles heat more evenly, so you spend less time chasing cold spots on the platen.
What experienced press operators notice first
- The shirt holds its shape after pressing, so alignment stays true from the first piece to the last in a batch.
- Dye bleeding is rarely an issue on the lighter and mid-tone colorways, which keeps white ink looking clean.
- Heavyweight bodies tolerate higher press temperatures without scorching, giving you a wider working window.
- Stitching at the collar and shoulders survives repeated pressing better than thinner fast-fashion blanks.
None of that is magic. It is simply a garment built with enough substance that the printing process does not fight it.
Matching Shaka Wear Styles to Real Jobs
The line covers more than one silhouette, and picking the right one is half the battle. A transfer that looks great on a boxy heavyweight tee can look cramped on a slim retail cut, and a lightweight style that drapes beautifully may not hold a large back print for years.
Heavyweight tees for large front and back prints
If a design covers most of the chest or spans the shoulder blades, start with the heavier options. The fabric resists stretching during application, so the transfer does not distort when you peel the film. These also tend to be the shirts customers keep wearing, which means your print gets more wash cycles to prove itself.
Midweight blanks for retail-style drops
For small-batch brand drops where drape and fit matter as much as durability, midweight cotton is the practical choice. Keep transfer sizes modest and place them where the fabric does not stretch much, such as the upper chest or the center back between the shoulder blades.
Long sleeves and hoodies for layered prints
Sleeve prints and hoodie fronts need extra attention at the seams. Pre-press the garment for a few seconds to flatten the area, then apply the transfer with slightly firmer pressure so the adhesive reaches into the texture around stitching.
Press Settings That Work as a Starting Point
Every press runs a little differently, so treat these numbers as a baseline and adjust from there. Record what works for each fabric weight and colorway; a simple notebook or spreadsheet will save you hours of guesswork later.
- Pre-press the blank. Five to seven seconds at moderate pressure removes moisture and wrinkles. Skipping this step is the single most common cause of poor adhesion.
- Set temperature around 300 to 320°F (150 to 160°C). Heavyweight cotton tolerates the higher end; blends and darker dyes often do better at the lower end.
- Press with medium to firm pressure for 12 to 15 seconds. You want the texture of the weave visible through the film, not crushed flat.
- Peel cool or warm, depending on your film. Follow the film manufacturer's instruction; peeling too hot on a heavy cotton can stretch the print.
- Post-press with a cover sheet for 5 seconds. This step locks the adhesive into the fibers and noticeably improves wash durability.
One more habit worth building: always test a new colorway before a full run. Dark dyes and garment-dyed finishes can behave differently from white or heather blanks, and a single test press tells you more than any spec sheet.
Planning a Gangsheet Around Shaka Wear Sizes
Film is one of the largest recurring costs in a DTF shop, and layout discipline is where you recover it. A DTF Gangsheet Builder lets you drop multiple designs onto one sheet, nest them by size, and export a file the printer can run without manual rearranging.
A layout routine that reduces waste
- Group jobs by garment size first. Small chest logos for size small and medium tees nest together far better than mixed large-format art.
- Rotate designs to fill gaps rather than leaving empty corners. A 22-inch sheet with three unused inches along one edge is money on the floor.
- Keep a consistent margin between transfers so cutting and trimming stay quick.
- Print a size run in one sheet when possible, so pressing becomes a rhythm instead of a series of setup changes.
When you know your blanks in advance, you can also plan transfer dimensions around the actual print area. A heavyweight Shaka Wear tee gives you generous real estate across the chest and back, so a design that would feel oversized on a slim cut fits comfortably here. That knowledge turns a DTF Gangsheet Builder session from guesswork into a repeatable process.
Wash Durability: What to Expect and How to Protect It
Customers judge a printed shirt in the laundry, not in the shop. A well-applied transfer on a dense cotton blank typically holds up through many wash cycles when it is cared for properly. Give buyers clear instructions: wash inside out in cold water, skip fabric softener, and tumble on low or hang dry.
Fabric softener is worth calling out specifically. It coats fibers and gradually undermines the adhesive bond, which is why prints sometimes fail on shirts that were otherwise handled gently. A short care card tucked into each order prevents a lot of complaints and costs almost nothing.
On the production side, the post-press step mentioned earlier is your best defense. Shops that skip it often see edge lifting within a few washes, especially on heavier garments where the fabric surface is more textured.
Building a Repeatable Workflow
The real advantage of standardizing on a blank line is consistency. When every job starts from the same fabric behavior, your press settings, peel timing, and layout decisions stop changing from order to order. Mistakes become easier to spot, training new staff gets faster, and quotes get more accurate because you know how much film and time a run will take.
Start with one or two styles that cover most of your work, document the settings that succeed, and expand from there. Pair that discipline with a tidy gangsheet layout and a short care insert, and the quality of your finished product will speak for itself long after the shirt leaves the shop.
Frequently Asked Questions
Do DTF transfers work well on Shaka Wear heavyweight cotton tees?
Yes. Dense, mid-to-heavyweight cotton gives the adhesive a stable surface, and the fabric tolerates standard DTF press temperatures without scorching. Pre-press the garment, use medium to firm pressure, and always post-press with a cover sheet to improve wash durability.
What temperature should I use for DTF on Shaka Wear blanks?
Start around 300 to 320°F (150 to 160°C) for 12 to 15 seconds. Lighter and mid-tone colorways usually do well at the higher end, while blends and some darker dyes are safer near the lower end. Run a test press on any new colorway before committing to a batch.
How do I avoid wasting film when printing for multiple shirt sizes?
Group designs by garment size, nest smaller chest logos together, and rotate art to fill gaps on the sheet. Using a DTF Gangsheet Builder makes this faster because you can arrange everything on one canvas and export a print-ready file instead of rearranging art manually.
Why did my transfer start peeling after a few washes?
Peeling usually points to one of three causes: the blank was not pre-pressed, the post-press step was skipped, or the customer used fabric softener. Check your press routine first, then add a short care card to your orders recommending cold washing inside out and no softener.
Can I print large back designs on Shaka Wear tees?
Heavyweight styles handle large front and back prints well because the fabric resists stretching during application. Keep the design within the printable area, pre-press seams flat, and apply slightly firmer pressure near stitched areas so the adhesive reaches the texture around the seams.