
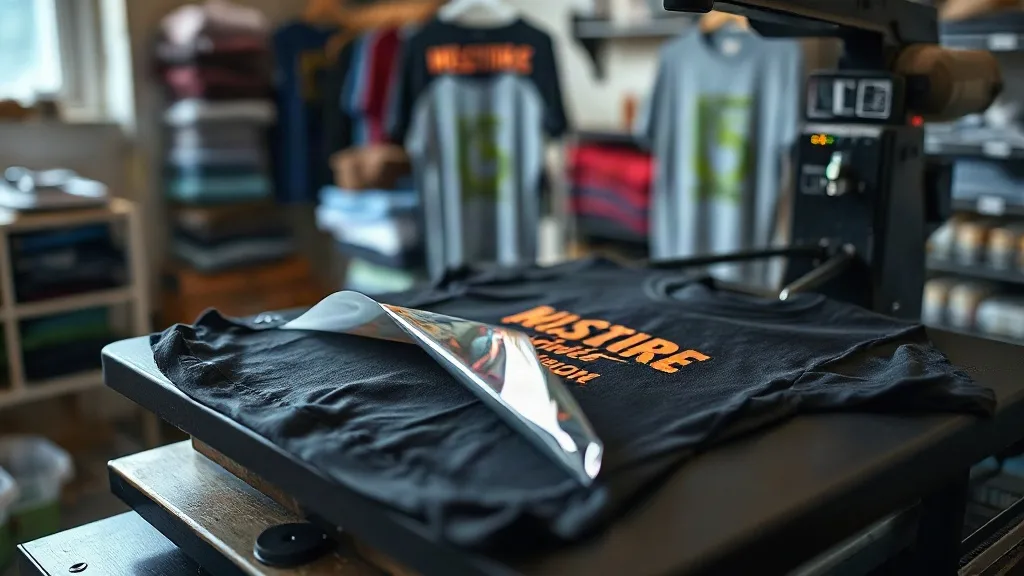
You pulled the shirt off the platen, peeled the film while it was still warm, and watched a corner of the design lift with it. Or maybe the print looked fine on day one and started cracking after the third wash. Either way, the film was probably not the problem. In most shops I have visited, the failures blamed on dtf transfers come down to the press, the fabric, or the order of operations, not the transfer itself.
This guide walks through the mistakes that show up again and again on a heat press, how to recognize each one from the finished print, and what to change. If you already know your way around a dtf workflow, treat this as a troubleshooting checklist you can keep next to the press.
Why the press, not the film, decides the outcome
A DTF transfer is a sandwich of printed ink and a hot-melt adhesive powder on a carrier film. The press does two jobs at once: it melts the adhesive so it bonds to the fibers, and it drives the ink into the fabric surface. Get the temperature, pressure, or time wrong on either step and the bond is weak even if the print looks perfect while it is still hot.
That is why two shops can buy the same roll of film and get completely different durability. One controls the variables, the other guesses. The good news is that every failure mode leaves a recognizable signature, so you can work backward from the defect to the cause.
The five mistakes that cause most DTF failures
1. Peeling the film too early
This is the single most common error, especially for anyone coming from vinyl, where hot peel is often standard. DTF adhesive needs to cool before the carrier film releases cleanly. Peel while it is hot and the adhesive is still soft, so it stretches and pulls away from the fabric instead of staying put.
Let the transfer cool for at least 30 to 60 seconds, or until the film feels barely warm to the touch. A cold peel gives you a cleaner edge and a stronger bond. If you are producing volume, set up a cooling rack beside the press so shirts can rest while you load the next one.
2. Pressing on a cold or uneven platen
A cold platen pulls heat out of the transfer the moment you lower the press. The top of the design gets the full temperature, the bottom sits several degrees cooler, and you end up with a print that adheres well at the shoulders and peels at the hem. Pre-pressing the garment for three to five seconds solves this and also steams out wrinkles that would otherwise create pressure gaps.
Uneven pressure is the quieter version of the same problem. A worn silicone pad, a folded seam under the design, or a platen that is not level will all produce patchy adhesion. Run a quick pressure test with a piece of scrap fabric and look for a consistent imprint across the whole surface.
3. Guessing at temperature and time
Most DTF films want somewhere in the 150 to 165 degrees Celsius range for 10 to 15 seconds, but those numbers shift with the film brand, the powder, and the fabric. Cotton absorbs differently than polyester, and a thick hoodie needs more dwell time than a lightweight tee. Treat any published setting as a starting point, then dial it in on scrap.
Two tools make this much easier. An infrared thermometer tells you what the platen is actually doing rather than what the display claims. A simple press counter or timer keeps you honest when the shop gets busy and you start rushing the cycle.
4. Ignoring fabric composition
DTF is popular precisely because it works on almost anything, but almost is not the same as identically. Polyester blends can scorch or develop a sheen if you press too hot. Nylon and some coated performance fabrics need lower temperatures and a longer, gentler press. Water-resistant or heavily coated garments may need a test press on an inside hem before you commit a full design.
When a customer brings in their own garment, always ask what it is made of and press a small test area first. It takes two minutes and saves you a ruined shirt and an awkward conversation.
5. Skipping the second press
After you cold peel the film, the print benefits from a short second press, usually five to eight seconds with a cover sheet or parchment over the design. This sets the ink into the fibers, smooths the surface, and improves wash resistance. Many shops skip this step because the print already looks finished, then wonder why the design starts to crack after a few cycles.
Reading the defect: a quick diagnostic table
- Edges lift after peeling: peeled too hot, or pressure too low at the edges.
- Print looks dull or washed out: temperature too low, dwell time too short, or the fabric was damp.
- Cracking after washing: no second press, or the adhesive never fully melted.
- Shiny scorch marks on polyester: press too hot, or no cover sheet.
- Design feels stiff and plasticky: too much pressure driving ink into the weave, or an oversized solid block that should have been halftoned.
If you find yourself searching for dtf transfers near me because your current supplier's film keeps failing, check your press settings before switching vendors. A new roll will not fix a cold platen.
Building a repeatable press routine
Consistency is what separates a shop that reprints constantly from one that ships clean orders. Write your settings down for each fabric type you handle and tape the sheet to the wall. Pre-press every garment. Press the transfer, cold peel, then second press. Log any batch that fails so you can spot patterns.
Keep the press clean as well. Adhesive residue builds up on the platen and upper pad, and a dirty surface transfers that gunk straight onto the next shirt. A quick wipe with a heat-safe cleaner at the end of each shift takes seconds and prevents a whole category of mysterious marks.
Finally, store your transfers properly. Keep them flat, away from heat and direct sunlight, and use them within the manufacturer's recommended window. Film that has absorbed moisture or sat in a hot van will behave unpredictably no matter how good your press technique is.
Frequently asked questions
How long should I wait before peeling a DTF transfer?
Wait until the film is cool or barely warm, which usually means 30 to 60 seconds after lifting the press. Cold peel gives cleaner edges and a stronger bond than peeling while hot.
Can I press DTF transfers on 100 percent polyester?
Yes, but use a lower temperature and a cover sheet to avoid scorching or a shiny finish. Always test on an inside hem first, especially with performance or coated fabrics.
Why does my DTF print crack after washing?
Cracking almost always means the adhesive did not fully melt or the print never got a second press. Check your temperature, pressure, and dwell time, then add a short cover-sheet press after cold peeling.
Do I need a cover sheet when pressing DTF?
It is strongly recommended. A cover sheet or parchment protects the print surface, distributes heat evenly, and prevents the upper platen from sticking to the design.
How do I know if my press pressure is right?
Run a test with scrap fabric and check for a consistent imprint across the whole platen. Patchy or uneven marks mean you need to adjust pressure or replace a worn pad.