
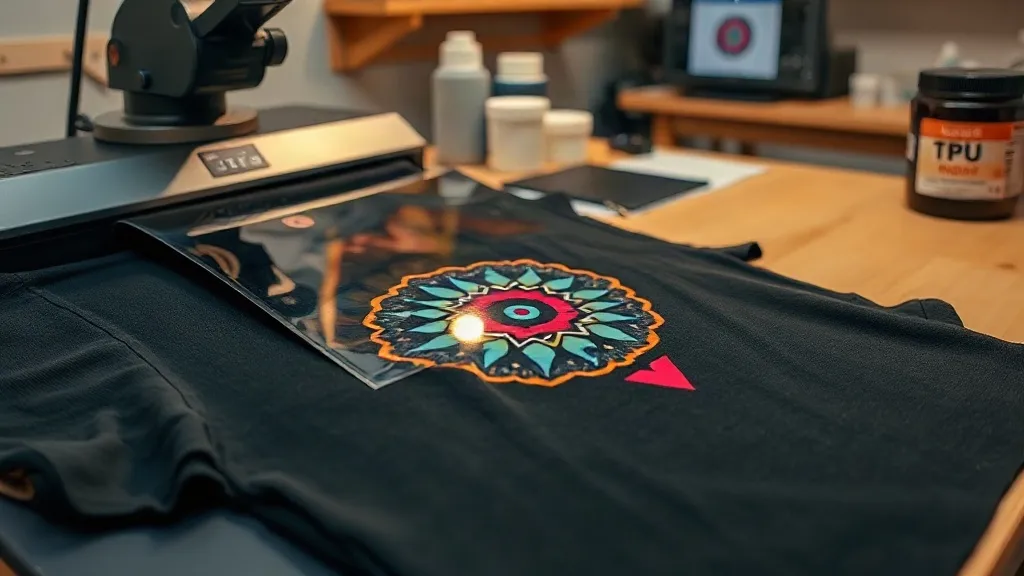
If you've been exploring custom apparel printing, you've likely encountered dtf transfers. This method has rapidly gained popularity for its ability to produce vibrant, detailed prints on a wide range of fabrics. Unlike other techniques that require specific materials, DTF (Direct-to-Film) offers flexibility and durability that both hobbyists and professionals appreciate. In this guide, we'll walk you through the entire process, from understanding the basics to achieving flawless results with your own dtf prints.
What Are DTF Transfers?
DTF transfers are a type of heat transfer that involves printing a design onto a special film, then applying it to fabric using heat and pressure. The process begins with printing your design onto a PET film using DTF inks, which are specially formulated to adhere to the film and later to the fabric. A powder adhesive is applied to the wet ink, and after curing, the transfer is ready to be pressed onto the garment. This method is distinct from DTG (Direct-to-Garment) or sublimation because it works on almost any fabric, including cotton, polyester, blends, and even some non-wovens.
The Science Behind DTF
The key to DTF's versatility lies in its two-component system: the ink and the adhesive powder. The inks are pigment-based and suspended in a carrier that allows them to be printed through a modified inkjet printer. The powder, typically a thermoplastic polyurethane (TPU), melts under heat and bonds to the fibers of the fabric. This creates a strong, flexible bond that withstands washing and wear. Because the film is transferred as a whole, the print retains high detail and color vibrancy, making it ideal for complex designs with gradients and fine lines.
Why Choose DTF Transfers?
There are several compelling reasons to consider DTF for your next project. First, it eliminates the need for pre-treatment, which is often required in DTG printing. This saves time and reduces chemical use. Second, DTF transfers can be stored and used later, making them perfect for small businesses or on-demand printing. You can print a batch of transfers and apply them as needed, reducing waste and inventory. Third, DTF produces excellent results on dark and light fabrics alike, without the need for a white underbase. The white ink layer is built into the transfer, ensuring opacity and brightness.
Cost-Effectiveness and Efficiency
For startups and small businesses, DTF offers a low barrier to entry. You don't need a dedicated garment printer; a DTF printer and a heat press are sufficient. The cost per print is competitive, especially for short runs. Moreover, the ability to gang multiple designs on a single film reduces waste and maximizes efficiency. If you're looking for dtf transfers near me, you'll find local services that can produce high-quality transfers quickly, often with same-day turnaround.
Step-by-Step DTF Transfer Process
Getting started with DTF is straightforward if you follow the right steps. Here's a detailed breakdown of the process, from design to application.
1. Design Preparation
Start with a high-resolution image (300 DPI is recommended). Remember that DTF prints are opaque, so you don't need to worry about background colors. However, ensure your design has transparent areas if you want the fabric to show through. Use a RIP (Raster Image Processor) software to prepare your file for printing. This software handles color management and ensures the white ink layer is correctly generated.
2. Printing
Load your DTF printer with DTF inks and PET film. The printer will lay down a layer of white ink followed by color inks. Some printers use a CMYK+W configuration, while others may have additional colors for a wider gamut. After printing, the film is wet with ink and ready for powdering.
3. Powder Application
While the ink is still wet, apply the TPU adhesive powder evenly over the printed area. Shake off excess powder and return it to the container for reuse. The powder should stick only to the ink. Then, cure the film under a heat source (e.g., a heat press or oven) at around 160°C for 2-3 minutes, or until the powder melts and becomes glossy.
4. Pressing
Set your heat press to 150-160°C (300-320°F) with medium pressure. Place the cured transfer on the garment, cover with a Teflon sheet or parchment paper, and press for 10-15 seconds. For best results, use a cold peel: allow the transfer to cool completely before peeling the film. This prevents the design from stretching or distorting.
5. Post-Pressing
After peeling, press the design again for 5 seconds with a Teflon sheet to ensure the adhesive fully bonds to the fabric. This step enhances durability and washability.
Common Mistakes and How to Avoid Them
Even experienced users can run into issues. Here are some common pitfalls and their solutions.
- Insufficient pressure: If the transfer doesn't adhere properly, increase pressure. The powder needs to penetrate the fabric fibers.
- Too much powder: Excess powder can cause a rough texture. Always shake off excess before curing.
- Peeling too soon: Hot peel can stretch the design. Wait until it's cool to the touch.
- Uneven curing: Ensure the film is evenly heated; otherwise, the powder may not melt completely, leading to poor adhesion.
Applications and Fabrics
DTF transfers work on a multitude of fabrics: cotton, polyester, nylon, leather, and even some blends. They are ideal for t-shirts, hoodies, tote bags, and caps. However, avoid using DTF on fabrics with a heavy texture or coatings, as the adhesive may not bond well. Always test on a scrap piece first.
Frequently Asked Questions
How durable are DTF transfers?
When applied correctly, DTF transfers can withstand 50+ washes without significant fading or cracking. Proper pressing and post-pressing are key to longevity.
Can I use DTF transfers on dark shirts?
Absolutely. DTF transfers include a white ink layer that provides a bright base, so colors pop on dark fabrics without the need for a separate white underbase.
What is the difference between DTF and DTG?
DTG prints directly onto the garment, requiring pre-treatment and specific fabrics. DTF prints onto a film, which is then transferred, allowing it to work on almost any material and offering more flexibility in production.
Do I need a special printer for DTF?
Yes, you need a DTF printer that uses DTF inks and can handle PET film. However, you can also buy pre-printed transfers from suppliers if you don't want to invest in a printer.
How should I store unused DTF transfers?
Store them in a cool, dry place away from direct sunlight. Keep them flat to prevent curling. Properly stored transfers can last for several months.
Whether you're a DIY enthusiast or a growing business, mastering DTF transfers opens up a world of creative possibilities. With the right techniques and a bit of practice, you'll achieve professional-quality prints that impress.