
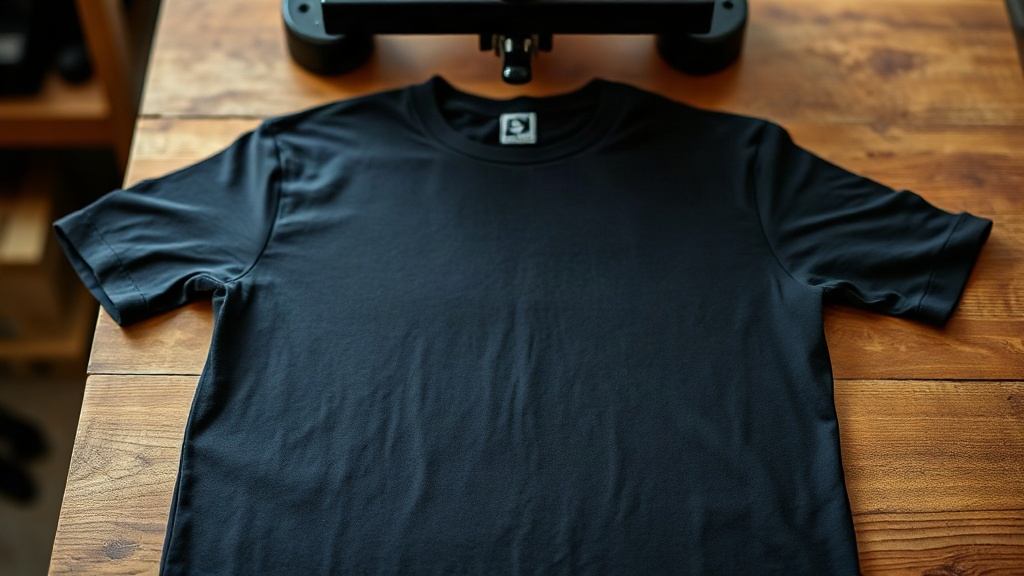
Most people who try DTF printing for the first time start with a white cotton tee. It is the forgiving option: the white ink layer underneath every design blends into the fabric, mistakes are hard to spot, and the wash test usually goes fine. Then the same person prints on a black tri-blend and the transfer looks dull, the edges lift after two washes, and a thin grey halo appears around the artwork. Nothing about the printer changed. The garment did.
Dark and mid-tone garments expose every weak point in a DTF workflow at once. The white ink base has to do real work instead of hiding, the powder has to cure evenly against a surface that absorbs heat differently, and the press settings that worked on white cotton suddenly sit in a narrow window. Getting this right is not complicated, but it does require treating dark garments as their own category rather than a color variant of the same job.
Why the White Ink Base Carries All the Weight
A DTF transfer is built in layers. The CMYK inks sit on top, and beneath them is a white ink layer whose only job is to stop the shirt color from showing through. On a white shirt, that layer is almost decorative. On a black shirt, it is the entire image. If the white layer is thin, uneven, or under-cured, the result is a washed-out print with grey edges no matter how vivid the artwork looks on screen.
This is why the same file can look great on one shirt and weak on another. The printer is laying down a fixed amount of white ink per square centimeter. On a dark surface, there is no margin for error. A 10 percent shortfall in opacity that you would never notice on a light heather grey becomes an obvious defect on black.
Checking opacity before you press
Hold the printed transfer up against a window or a bright light before you press it. The white areas should look dense and consistent, with no mottling or thin patches. If you can see light through the white layer, the transfer will look grey on a dark shirt. Fix it at the printer, not at the press.
Double-pass printing and when it helps
Many desktop DTF printers let you print a second white pass over the first. This roughly doubles the white ink deposit and produces noticeably stronger opacity on black garments. The trade-offs are real: the transfer becomes thicker, the hand feel gets heavier, and the press time needed to fully cure the powder increases. For large solid areas on dark fabric, the trade is usually worth it. For fine text and thin lines, a second pass can cause the ink to spread and blur the edges, so test before committing to a full run.
Press Settings That Behave Differently on Dark Fabric
The press is where most dark-garment problems actually happen, even when people blame the printer. Dark cotton, especially black, absorbs radiant heat faster than white cotton because the pigment absorbs more energy. That sounds like a small detail. In practice it means the garment surface reaches temperature quicker, and the adhesive powder can gel before the pressure has fully seated the transfer.
A workable starting point for dark cotton is 160 to 165 degrees Celsius with medium to firm pressure for 12 to 15 seconds, followed by a cold peel. That is not a universal recipe, because press calibration varies wildly between brands and even between units of the same model. Use a heat gun or infrared thermometer to verify the actual platen temperature rather than trusting the dial.
- Pre-press the garment for 3 to 5 seconds to drive out moisture. Trapped moisture is the leading cause of bubbling and poor adhesion on dark shirts.
- Use firm pressure. Light pressure leaves the powder layer partially unbonded, which shows up as edge lifting after the first wash.
- Peel cold for most DTF films. Warm peeling on dark garments tends to stretch the still-soft ink and distort fine detail.
- Post-press the finished transfer for 5 to 8 seconds with a cover sheet to smooth the surface and improve wash resistance.
The moisture problem nobody warns you about
Dark garments, particularly heavy-weight cotton and cotton-poly blends, hold more moisture from storage and humidity than people expect. Press a damp shirt and the water turns to steam under the transfer. The steam has nowhere to go, so it pushes the film up in small blisters. On white shirts the blisters often flatten out during the press. On black shirts they leave visible texture and weak spots that fail in the wash. Pre-pressing is not optional here.
Color Management for Dark Garments
Colors that look vibrant on white can turn muddy on black, and it is not always an opacity problem. Saturated yellows, light greens, and pastel tones depend on a bright white base to read correctly. If the white layer is slightly under-printed, those colors shift toward the grey end of the spectrum.
There are two practical responses. The first is to simplify the design for dark garments: avoid large areas of pale, low-contrast color and lean on bolder shapes with clear edges. The second is to add a small outline or backing shape in the artwork itself, so the design sits on its own white field rather than relying entirely on the printer's white layer.
Designing for the garment, not the screen
Designers who work mostly in RGB on a bright monitor routinely underestimate how much contrast a dark shirt needs. A thin white line on black is striking. A thin grey line on black disappears at arm's length. When you prepare artwork for dark garments, check it at actual print size on a black background before you commit. What looks subtle on a 27-inch screen often looks invisible on a shirt.
Wash Durability and What Actually Breaks First
Wash failure on dark DTF prints almost always starts at the edges. The center of a transfer is protected by the bulk of the ink and adhesive. The perimeter is where the bond is weakest, where the film is thinnest, and where the wash cycle does the most damage.
Inside-out washing in cold water, a gentle cycle, and low-heat tumble drying or hang drying will extend the life of any DTF print significantly. Fabric softener and dryer sheets are worth avoiding because they coat the print surface and can cause the ink to look chalky over time. Direct ironing over the print will destroy it within seconds, so press from the back of the garment if you need to remove wrinkles.
If a print starts to crack after a handful of washes, the cause is usually under-curing at the powder stage rather than a bad transfer. Powder that has not fully melted will not form a continuous film, and a discontinuous film cracks under flex. Increasing press time or temperature slightly, and verifying with a thermometer, fixes more durability complaints than any change to the artwork.
Frequently Asked Questions
Can I use the same DTF transfer on both white and black shirts?
Yes, the transfer itself is identical. What changes is how the white ink layer reads against the garment. A file optimized for white shirts may need a second white pass or a design adjustment to hold up on black. Always test on the actual garment color before a production run.
Why does my DTF print look grey around the edges on dark fabric?
That halo is usually thin or uneven white ink at the boundary of the design. It can also come from insufficient pressure during pressing, which prevents the adhesive from fully bonding at the edges. Check the transfer's opacity against a light source first, then verify your press pressure.
How long should I press DTF on a black cotton shirt?
A reasonable starting range is 12 to 15 seconds at 160 to 165 degrees Celsius with firm pressure, followed by a cold peel. Because press calibration varies, confirm the platen temperature with a thermometer and adjust from there rather than assuming the dial is accurate.
Do dark polyester blends need different settings than dark cotton?
Yes. Polyester is more heat-sensitive and can scorch or develop a sheen at temperatures that are fine for cotton. Lower the temperature to around 140 to 150 degrees Celsius, extend the time slightly, and use a cover sheet to protect the fabric surface.
What causes a DTF print to crack after washing on dark shirts?
Cracking almost always traces back to incomplete powder curing. If the adhesive powder has not fully melted into a continuous film, the print cannot flex with the fabric and fractures along stress lines. Increasing press time or temperature, and confirming with a thermometer, resolves most of these cases.