
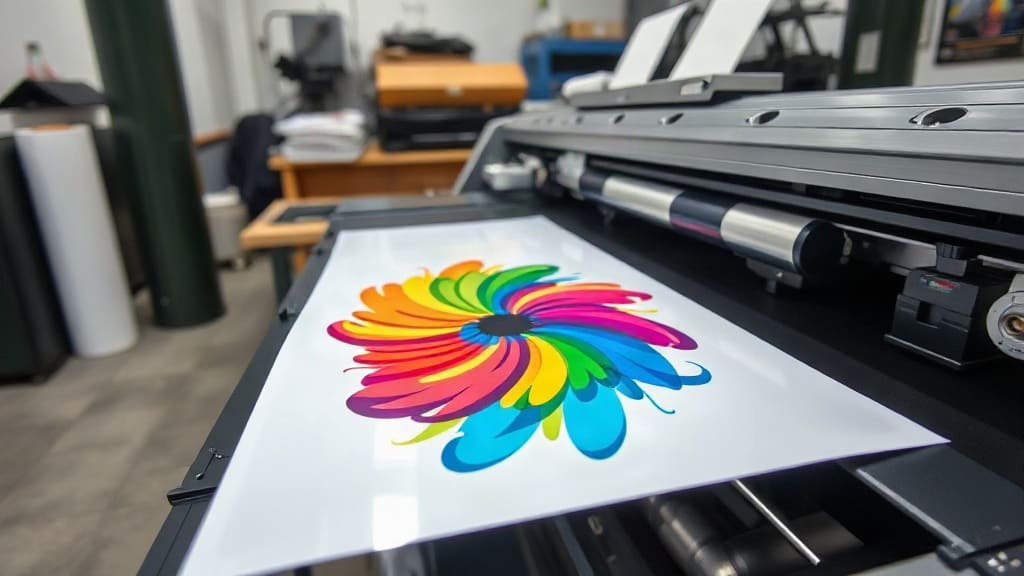
If you’ve been exploring custom apparel printing, you’ve likely heard about DTF transfers. This method has taken the industry by storm, offering a flexible, cost-effective way to create vibrant designs on a wide range of fabrics. Whether you’re a small business owner, a hobbyist, or simply curious about the latest printing technology, this guide will walk you through everything you need to know about DTF transfers, from the basics to advanced tips.
What Are DTF Transfers?
DTF stands for Direct to Film. In this process, a design is printed onto a special PET film using a printer equipped with pigment inks and white ink. After printing, an adhesive powder is applied to the wet ink, and the film is heated to cure the powder. The result is a transfer film that can be pressed onto a garment using a heat press. When you peel away the film, the design is left on the fabric, creating a soft, durable print that feels like part of the garment.
Unlike traditional screen printing, DTF transfers allow for full-color designs with gradients, shadows, and fine details without the need for separate screens. The process is also compatible with a variety of materials, including cotton, polyester, blends, and even nylon, making it a versatile choice for custom apparel.
Why Choose DTF Transfers for Custom Printing?
The popularity of DTF transfers stems from several key advantages:
- Vibrant Colors on Dark Fabrics: The white ink base ensures that colors pop on dark shirts, something that is challenging with other digital methods like DTG.
- Soft Hand Feel: The print sits on the fabric with a soft, flexible texture, not a stiff, heavy layer.
- Durability: DTF prints can withstand multiple washes without cracking or fading, making them suitable for everyday wear.
- Versatility: You can print on almost any fabric, from cotton tees to polyester sportswear and even tote bags.
- Lower Initial Investment: Compared to screen printing equipment, a DTF setup is more affordable, making it accessible for startups and small businesses.
- On-Demand Production: You can print transfers as needed, reducing inventory and waste.
These benefits have made DTF transfers a preferred choice for many custom apparel printers, especially those offering personalized items or small batches.
How DTF Transfers Compare to Other Methods
To truly appreciate the value of DTF transfers, it helps to compare them with other popular printing techniques.
DTF vs. DTG (Direct to Garment)
DTG is a digital method where the design is printed directly onto the garment. While DTG produces excellent results on 100% cotton, it struggles with polyester and requires a pre-treatment for dark fabrics. DTF, on the other hand, works on a wider range of materials and yields vibrant prints on dark colors without pre-treatment. Additionally, DTF transfers can be produced in advance and pressed quickly, making them more efficient for order fulfillment.
DTF vs. Screen Printing
Screen printing is ideal for large quantities of the same design, offering low per-unit costs. However, it requires a significant setup time and is not cost-effective for small runs. DTF transfers shine in low to medium quantities, offering full-color prints at a fraction of the setup cost. For business owners looking to offer diverse designs without huge inventory, DTF is a winner.
DTF vs. Vinyl Heat Transfer
Vinyl cutting is great for simple, one-color designs and is widely used for names and numbers. But it can’t reproduce complex, multicolor graphics. DTF transfers handle gradients, photographic images, and intricate details with ease, giving you more creative freedom.
The DTF Transfer Process: Step by Step
Understanding the step-by-step process can help you troubleshoot and optimize your printing. Here’s a detailed breakdown:
- Printing: Use a DTF printer with pigment inks and white ink management. The design is printed in reverse (mirrored) onto a PET film. The white ink is printed as a base layer where needed.
- Powder Application: While the ink is still wet, apply a hot-melt adhesive powder over the printed film. This powder sticks to the ink and later fuses to the fabric during pressing.
- Curing: Pass the film through a curing oven or heat tunnel at around 160-170°C to melt the adhesive powder, creating a sticky layer that will bond to the fabric.
- Pressing: Place the transfer film onto the garment (design side up) and apply heat and pressure using a heat press. Typical settings are 160-170°C for 10-15 seconds with medium pressure.
- Peeling: After pressing, peel away the film. For best results, peel when it’s warm (hot peel) or cold (cold peel) depending on the film’s instructions. Most DTF films are hot peel, but follow the manufacturer’s guidance.
- Post-Press: For extra durability, you can press the garment again with a protective sheet to ensure the adhesive is fully activated.
One of the advantages of DTF is that you can produce a batch of transfers in advance and store them for later use, which speeds up the order process significantly.
Essential Equipment and Materials for DTF Printing
To start with DTF transfers, you’ll need a few key items:
- DTF Printer: Often, an Epson or other inkjet printer converted for DTF use with a white ink circulation system. Some printers are specifically designed for DTF.
- DTF Inks: Pigment inks that are CMYK plus white. Quality inks ensure vibrant colors and adhesion.
- PET Films: Special films with a coating that accepts ink and powder. Choose the right thickness and release properties.
- Adhesive Powder: Hot-melt powder that comes in various particle sizes. Fine powder is for detailed prints, while coarse powder is for thicker layers.
- Curing Oven: To melt the powder, you can use a dedicated curing oven or a heat press with a Teflon sheet to apply heat from the top.
- Heat Press: A clamshell or swing-away press with precise temperature and pressure controls.
Investing in good quality materials is crucial for achieving professional results. Cheap films or powders can lead to poor adhesion, cracking, or a stiff feel.
Pro Tips for Flawless DTF Transfers
Even with the right equipment, the devil is in the details. Here are practical tips I’ve learned from hands-on experience:
- Choose the Right Film: Films come in different release types: hot peel and cold peel. Hot peel films are faster, but cold peel may give a glossier finish. Test both to see which suits your designs.
- Adjust Powder Quantity: Too little powder leads to weak adhesion; too much can cause a thick, plastic-like feel. Aim for a thin, even coating that covers the ink area.
- Shake the Powder: Before applying, shake the powder container to break up clumps for even distribution.
- Control Temperature and Time: Follow the film manufacturer’s recommendations. Pressing too hot can scorch the film, while too short a time may not fully activate the adhesive.
- Use a Teflon Sheet: When pressing, place a Teflon sheet between the heat platen and the film to protect both and ensure even pressure.
- Test on Your Fabric: Different fabrics react differently to heat. Always do a test press on a scrap piece to avoid ruining a shirt.
- Store Transfers Properly: If you pre-print transfers, store them in a cool, dry place away from direct sunlight. Moisture can affect the powder’s performance.
Common Mistakes to Avoid with DTF Transfers
Even seasoned printers can slip up. Here are common pitfalls and how to avoid them:
- Skipping the White Ink Layer: On dark fabrics, the white base is essential for color vibrancy. Ensure your design includes a white underbase.
- Incorrect Print Settings: Using standard inkjet settings may result in low ink density. Use the correct DTF ICC profiles and print in high quality mode.
- Not Shaking Inks: Pigment inks settle over time. Shake them well before loading to maintain consistency.
- Poor Curing: If the powder isn’t fully cured, it won’t adhere properly. Check that the curing temperature is high enough and that the film passes through at the right speed.
- Lifting the Film Too Soon: For hot peel films, peel immediately after pressing, but do it quickly. For cold peel, wait until the film is completely cool. Ignoring this can cause the design to stick to the film or distort.
- Ignoring Fabric Type: While DTF works on many fabrics, very stretchy or textured materials may require special pre-treatment or a different adhesive. Always test.
Cost-Effectiveness and Business Opportunities
One of the biggest draws of DTF transfers is the low barrier to entry. For under $5000, you can set up a basic DTF printing station, including a printer, film, powder, and a heat press. Compare that to the cost of a screen printing setup, which requires screens, emulsion, and a darkroom, and you’ll see why many entrepreneurs choose DTF.
For existing print shops, adding DTF expands your capabilities without major investments. You can offer DTF transfers as a product itself, selling ready-to-press transfers to other businesses or individuals who have a heat press. This is a growing niche, as many crafters and small brands prefer to press their own transfers rather than invest in printing equipment.
Frequently Asked Questions About DTF Transfers
How durable are DTF transfers on garments?
DTF prints are highly durable when applied correctly. They can withstand 50+ washes without significant fading or cracking, especially if you use quality materials and follow recommended pressing guidelines. The key is to ensure proper heat and pressure to create a strong bond between the adhesive and the fabric fibers.
Can DTF transfers be used on any fabric?
DTF transfers work well on most fabrics, including cotton, polyester, cotton-poly blends, nylon, and even leather. However, the results can vary on very stretchy or textured materials like spandex or fleece. For such fabrics, you might need to use a different adhesive powder or adjust your pressing technique. Always test on a small area first.
What is the difference between hot peel and cold peel DTF films?
Hot peel films are designed to be peeled immediately after pressing while the film is still hot. This speeds up production. Cold peel films require waiting until the film cools down completely before peeling, which can produce a glossier finish and is often recommended for designs with fine details or when using metallic powders. Your choice depends on your workflow and the desired look.
How do I store unused DTF transfers?
Store your printed DTF films in a cool, dry place, away from direct sunlight and moisture. It’s best to keep them flat or rolled in a way that doesn’t crease the film. If stored properly, they can last for months without losing their effectiveness.
Can I use a regular inkjet printer for DTF transfers?
No, DTF printing requires a printer that can handle pigment inks and white ink, which are thicker and more viscous than standard dyes. Regular inkjet printers are not designed for this and will clog. You’ll need a printer specifically converted for DTF use, or one that is factory-built for this purpose.
Final Thoughts
DTF transfers have revolutionized the custom apparel industry by making high-quality, full-color printing accessible to everyone. Whether you’re looking to start a print-on-demand business, expand your current offerings, or simply create unique gifts, DTF offers a fantastic solution. With the right equipment, a bit of practice, and the tips in this guide, you’ll be producing stunning prints that delight your customers. So go ahead, experiment with DTF transfers, and unlock a world of creative possibilities.