
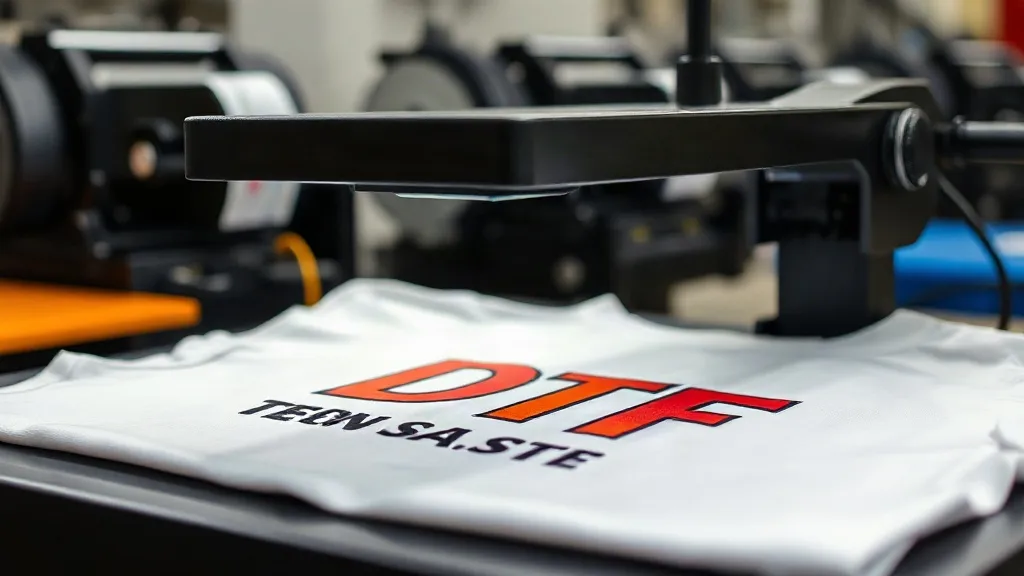
When you first venture into the world of dtf transfers, the array of films, powders, and presses can feel overwhelming. Unlike other decoration methods, DTF (Direct-to-Film) printing demands a delicate balance of chemistry and precision. Whether you're running a small print shop or exploring custom apparel for a side hustle, the difference between a print that peels after one wash and one that survives dozens lies in the details you might overlook.
Understanding the DTF Transfer Process
At its core, dtf printing involves printing your design onto a special film, applying a thermoplastic polyurethane (TPU) powder while the ink is still wet, and then curing the powder to create a flexible, durable layer. This film is then pressed onto fabric using a heat press. The magic happens when the powder melts and fuses with the fabric fibers, creating a bond that can withstand stretching and washing.
But here's what many tutorials gloss over: the quality of your final print is only as good as the weakest link in your process. From the ink viscosity to the humidity in your workspace, every factor plays a role. Let's break down the critical stages and share actionable advice to elevate your results.
Choosing the Right Film and Powder
Not all DTF films are created equal. A common mistake is opting for the cheapest film available, only to battle with curling edges, inconsistent powder adhesion, or prints that crack. High-quality films, such as those from DTF Pro Max, offer a release liner that peels smoothly and a coating that holds powder evenly. When you're sourcing dtf transfers near me, look for suppliers who provide samples so you can test before committing to bulk orders.
Powder selection is equally crucial. The particle size and melting point of the TPU powder affect how well it adheres and how soft the final print feels. Finer powders (around 80-200 microns) are generally better for detailed designs, while coarser powders work well for bold graphics. Always store powder in a dry environment; moisture is the enemy of consistent curing.
Film Types: Cold Peel vs. Hot Peel
Cold peel films require the transfer to cool completely before removing the carrier sheet, which can slow down production but often yields a smoother finish. Hot peel films allow you to remove the sheet while still warm, speeding up the workflow but demanding precise timing to avoid distorting the print. Your choice depends on your production volume and the level of detail in your designs. For intricate logos with fine lines, cold peel is more forgiving.
Mastering the Powder Application
Applying powder might seem straightforward: sprinkle it over the wet ink, shake off the excess, and cure. Yet inconsistencies here are a leading cause of failed transfers. The key is to achieve an even coat without clumps. Using a powder shaker with a fine mesh screen helps distribute the powder uniformly. After application, gently tap the film to remove excess powder, but avoid brushing it off aggressively, which can disturb the ink.
Curing is the next critical step. You can use a heat press or a dedicated curing oven. The powder needs to melt and flow, which typically occurs between 160°C and 170°C (320°F to 340°F) for 10-15 seconds. Overcuring makes the print stiff and yellowed; undercuring leaves powder that will wash away. Invest in an infrared thermometer to verify your press's actual temperature, as dials can be inaccurate.
Pressing Techniques for Flawless Results
Even with a perfect transfer, improper pressing can ruin the outcome. Here’s a step-by-step approach that professionals swear by:
- Pre-press the garment: This removes moisture and wrinkles, providing a smooth surface. Use a Teflon sheet or parchment paper to protect the fabric.
- Position the transfer: Place the film with the powder side down. Secure it with heat-resistant tape if needed.
- Apply heat and pressure: Set your press to 150°C-160°C (300°F-320°F) and use medium to high pressure (around 40-60 PSI). Press for 10-15 seconds.
- Peel cool or hot: Follow the film's instructions. For cold peel, wait until the film is completely cool before peeling.
- Post-press: For added durability, press again with a Teflon sheet for 5 seconds to set the print.
Remember that different fabrics require adjustments. Cotton blends may need slightly higher pressure, while polyester can be sensitive to heat, so lower the temperature to avoid scorching or dye migration.
Troubleshooting Common DTF Issues
Even seasoned pros encounter problems. Here are solutions to frequent headaches:
- Print peels after washing: Likely due to insufficient pressure or undercuring. Increase pressure and verify powder curing temperature.
- Patchy powder adhesion: Ink may be too dry or film incompatible. Ensure ink is wet when applying powder and use film designed for your printer.
- Stiff prints: Too much powder or overcuring. Reduce powder amount and cure just until powder melts.
- Color fading: Lower quality ink or film. Use pigment-based inks and store prints away from direct sunlight.
Keeping a log of your settings for each fabric and design helps you replicate success and quickly identify variables when issues arise.
Scaling Up: From One-Offs to Production
As demand grows, efficiency becomes paramount. Consider a roll-to-roll DTF printer if you're producing high volumes; these machines streamline printing and powder application. But don't neglect workflow organization: pre-cut films, pre-press garments in batches, and maintain a clean workspace to avoid contamination.
For those offering dtf transfers as a service, consistency is your reputation. Standardize your process and document it. Train staff on each step, and invest in quality control checks at every stage.
Frequently Asked Questions
Can I use DTF transfers on dark and light fabrics?
Yes, DTF transfers work on both dark and light fabrics, including cotton, polyester, and blends. The white ink layer in DTF printing provides opacity, so colors remain vibrant on dark backgrounds.
How long do DTF transfers last?
With proper application and care, DTF transfers can last 50+ washes. Turn garments inside out and wash in cold water to extend life.
Do I need a special printer for DTF?
You need a DTF printer that uses pigment inks and a film feeding system. Converted inkjet printers can work but may require modifications for reliable results.
What's the difference between DTF and DTG?
DTF transfers the design to a film before pressing onto fabric, allowing for use on various materials, while DTG prints directly onto the garment, typically limited to cotton.
Can I reuse DTF film?
No, DTF film is single-use. Reusing film leads to poor adhesion and print quality.